Using a GitHub Codespace for Jekyll site development
I had a hobby project where I wanted to spin up a simple static site (more on that another day) and I figured a simple Jekyll static site would do the trick. I ended up building a GitHub Codespace to use as my development environment…what a great experience!
Read on for more of the why and how (and how easy it was).
The question I faced
I’ve worked with Jekyll before. It’s fairly lightweight but still requires a handful of prerequisites to be installed to do the dev work (apps and compilers).
I could use my beefy, short-battery-life, loud-fanned, laptop…but it’s overkill and I wanted to work untethered.
My other personal machine is a Surface Go 2. I’ve found the Go 2 to be awesome, but with a 120GB capacity drive that’s well under 50% free, the prospect of installing packages to then develop on a computer with an m3 processor…seemed unappealing.
The third option was to use a virtual machine. I tried a quick search to see if Codespaces might be able to help out…and I was in luck!
💡
If you’re not familiar with Codespaces, it’s a cloud service that provides dedicated developer environments (virtual machines) with the environment configuration stored as code, launched in context of a code repository.
Getting up and running was so easy
I had used, but hadn’t configured, a Codespace before…but once I committed myself to it, including some research time, it only took me about 10 minutes end to end. Here’s all it took:
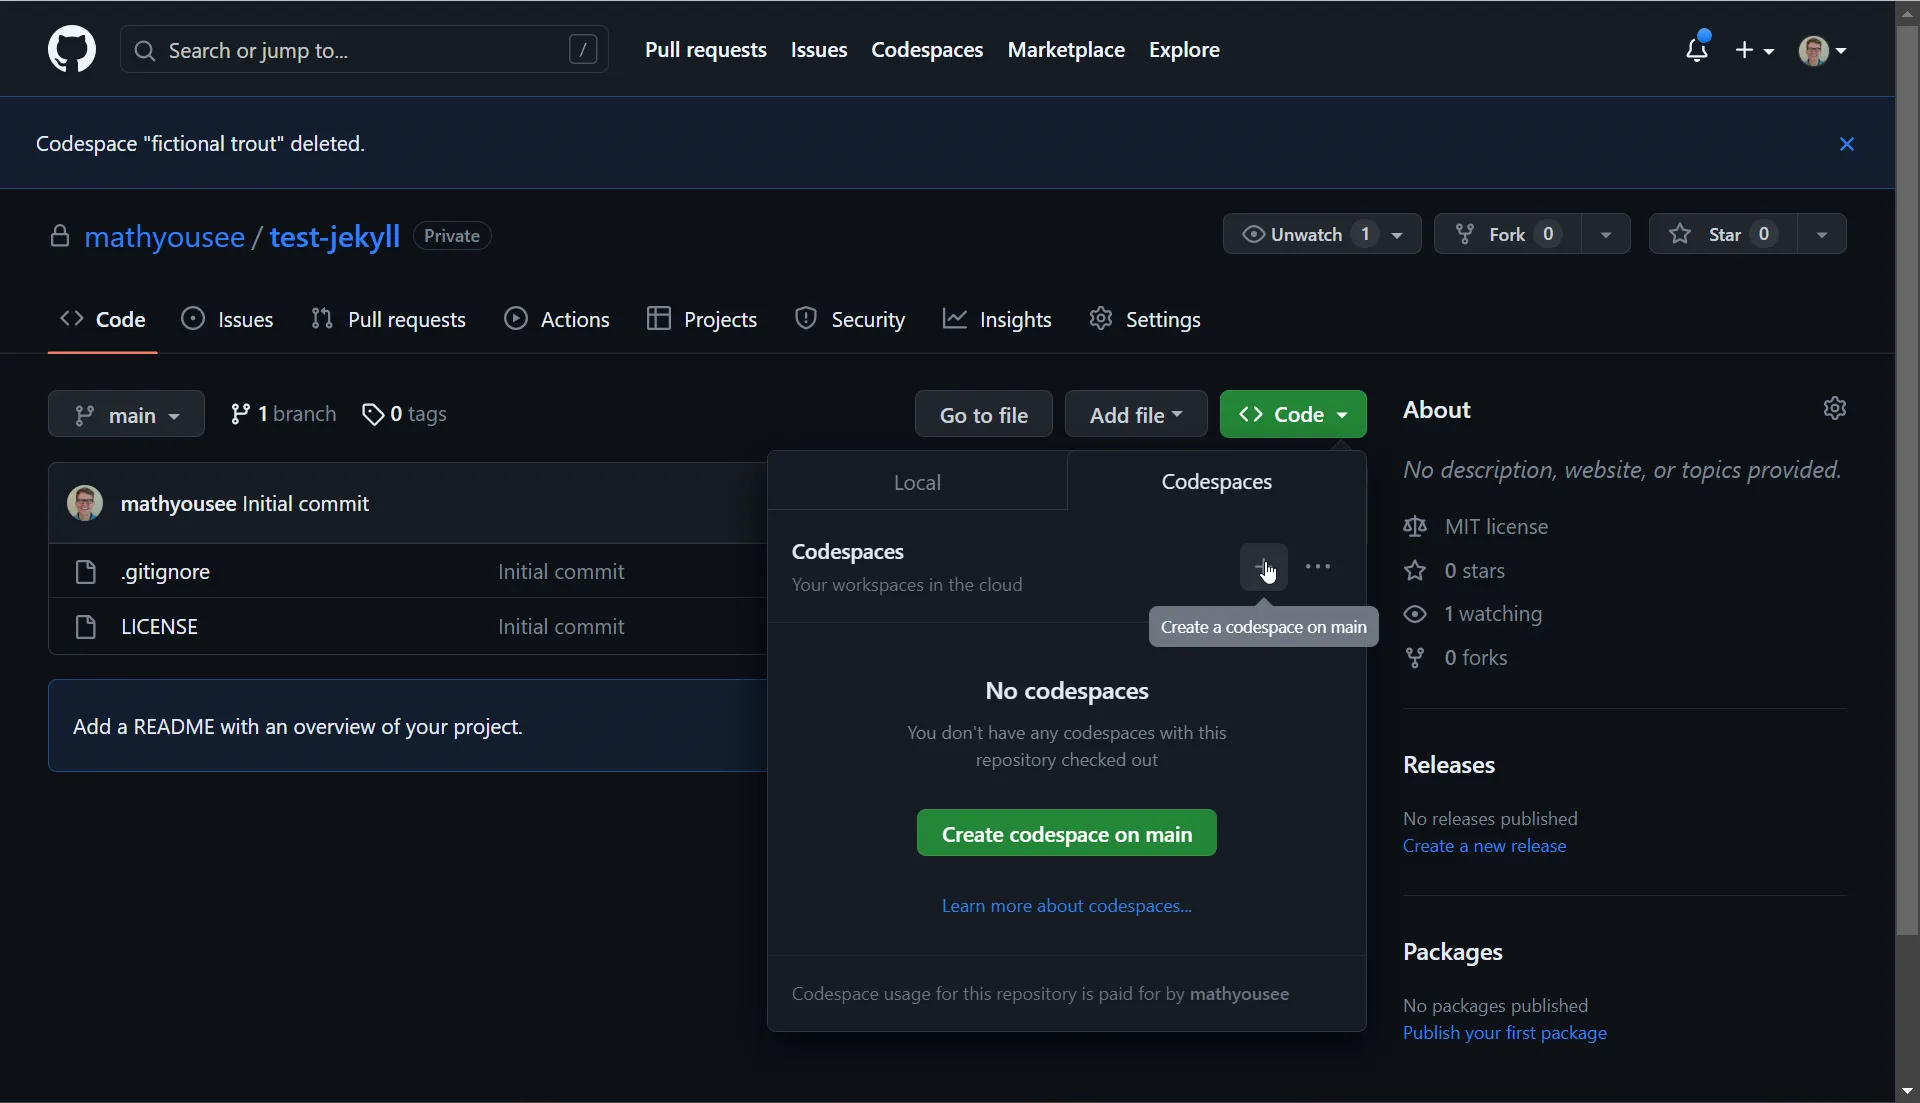
Create an empty GitHub repository - I added a license, but no readme. Using the Code menu I picked the Codespaces tab and Create.
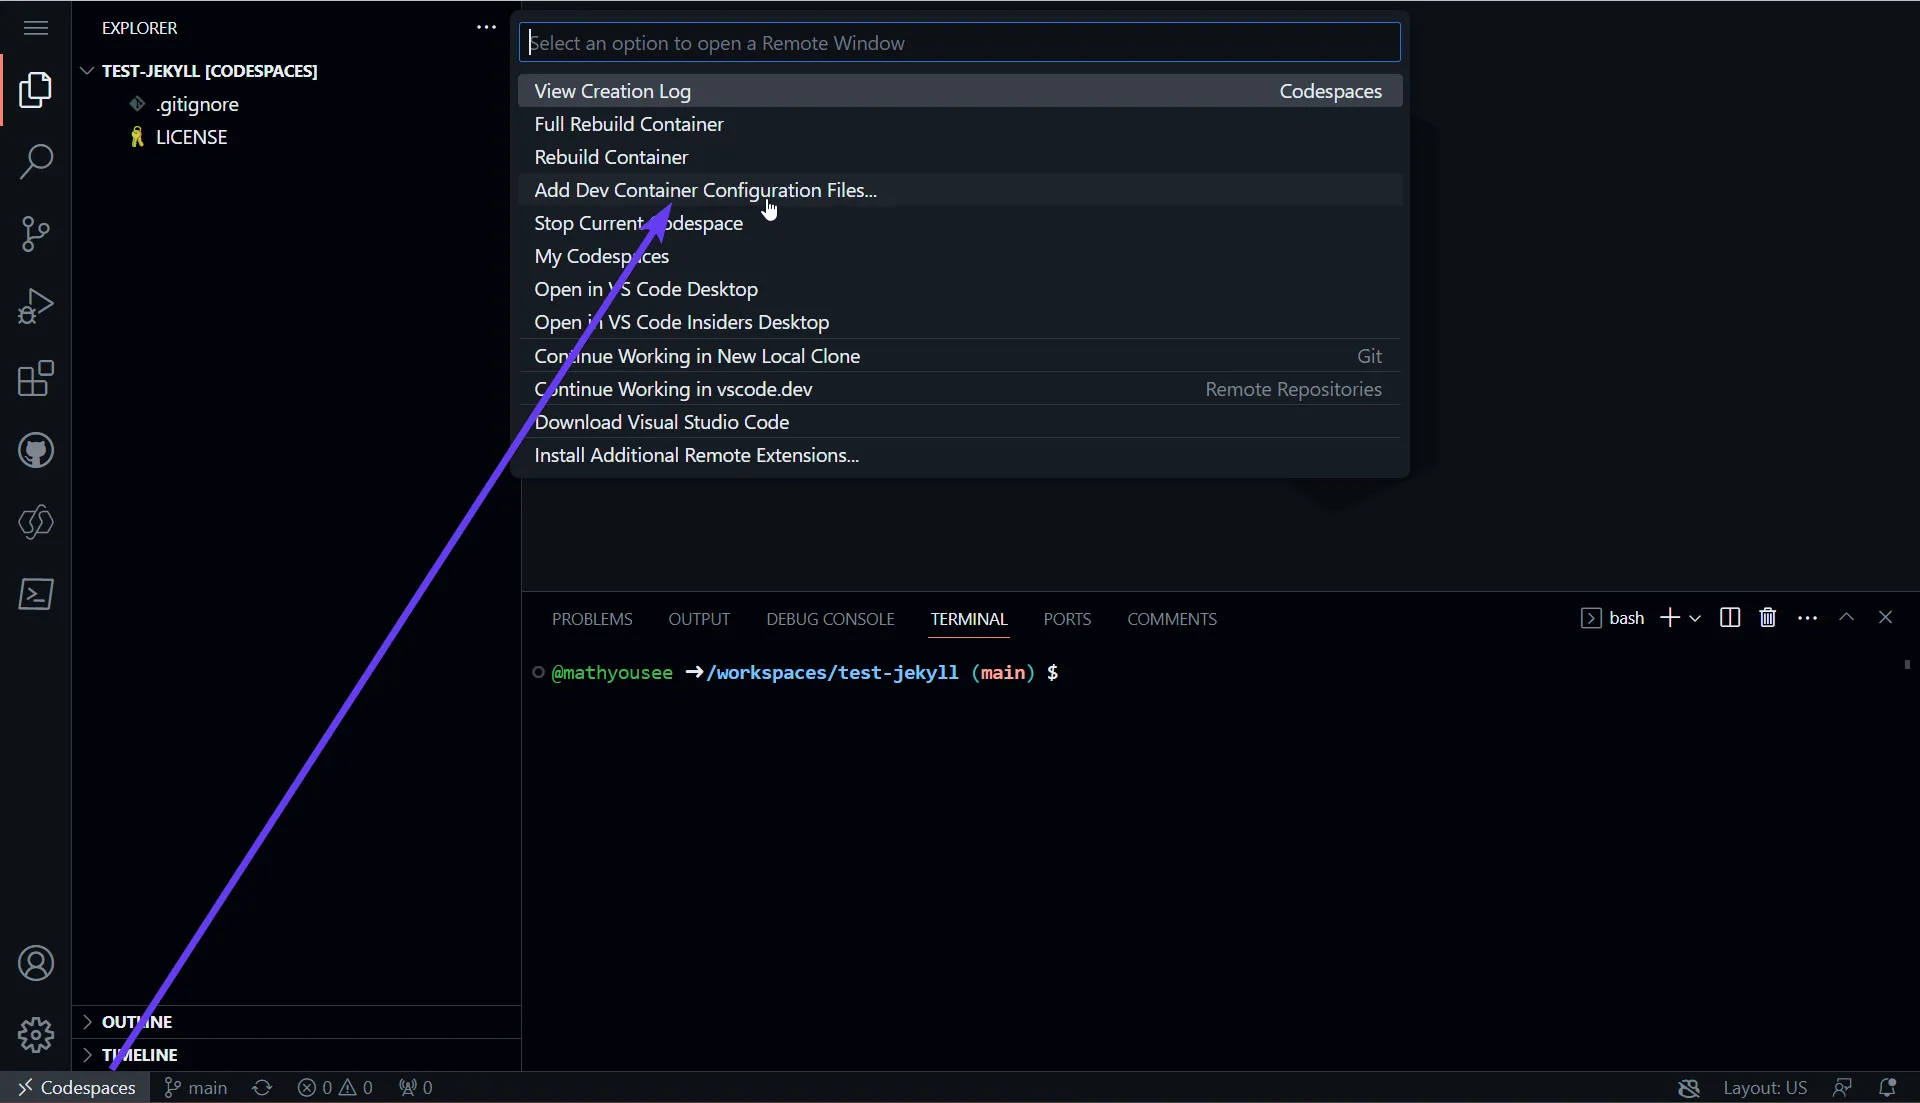
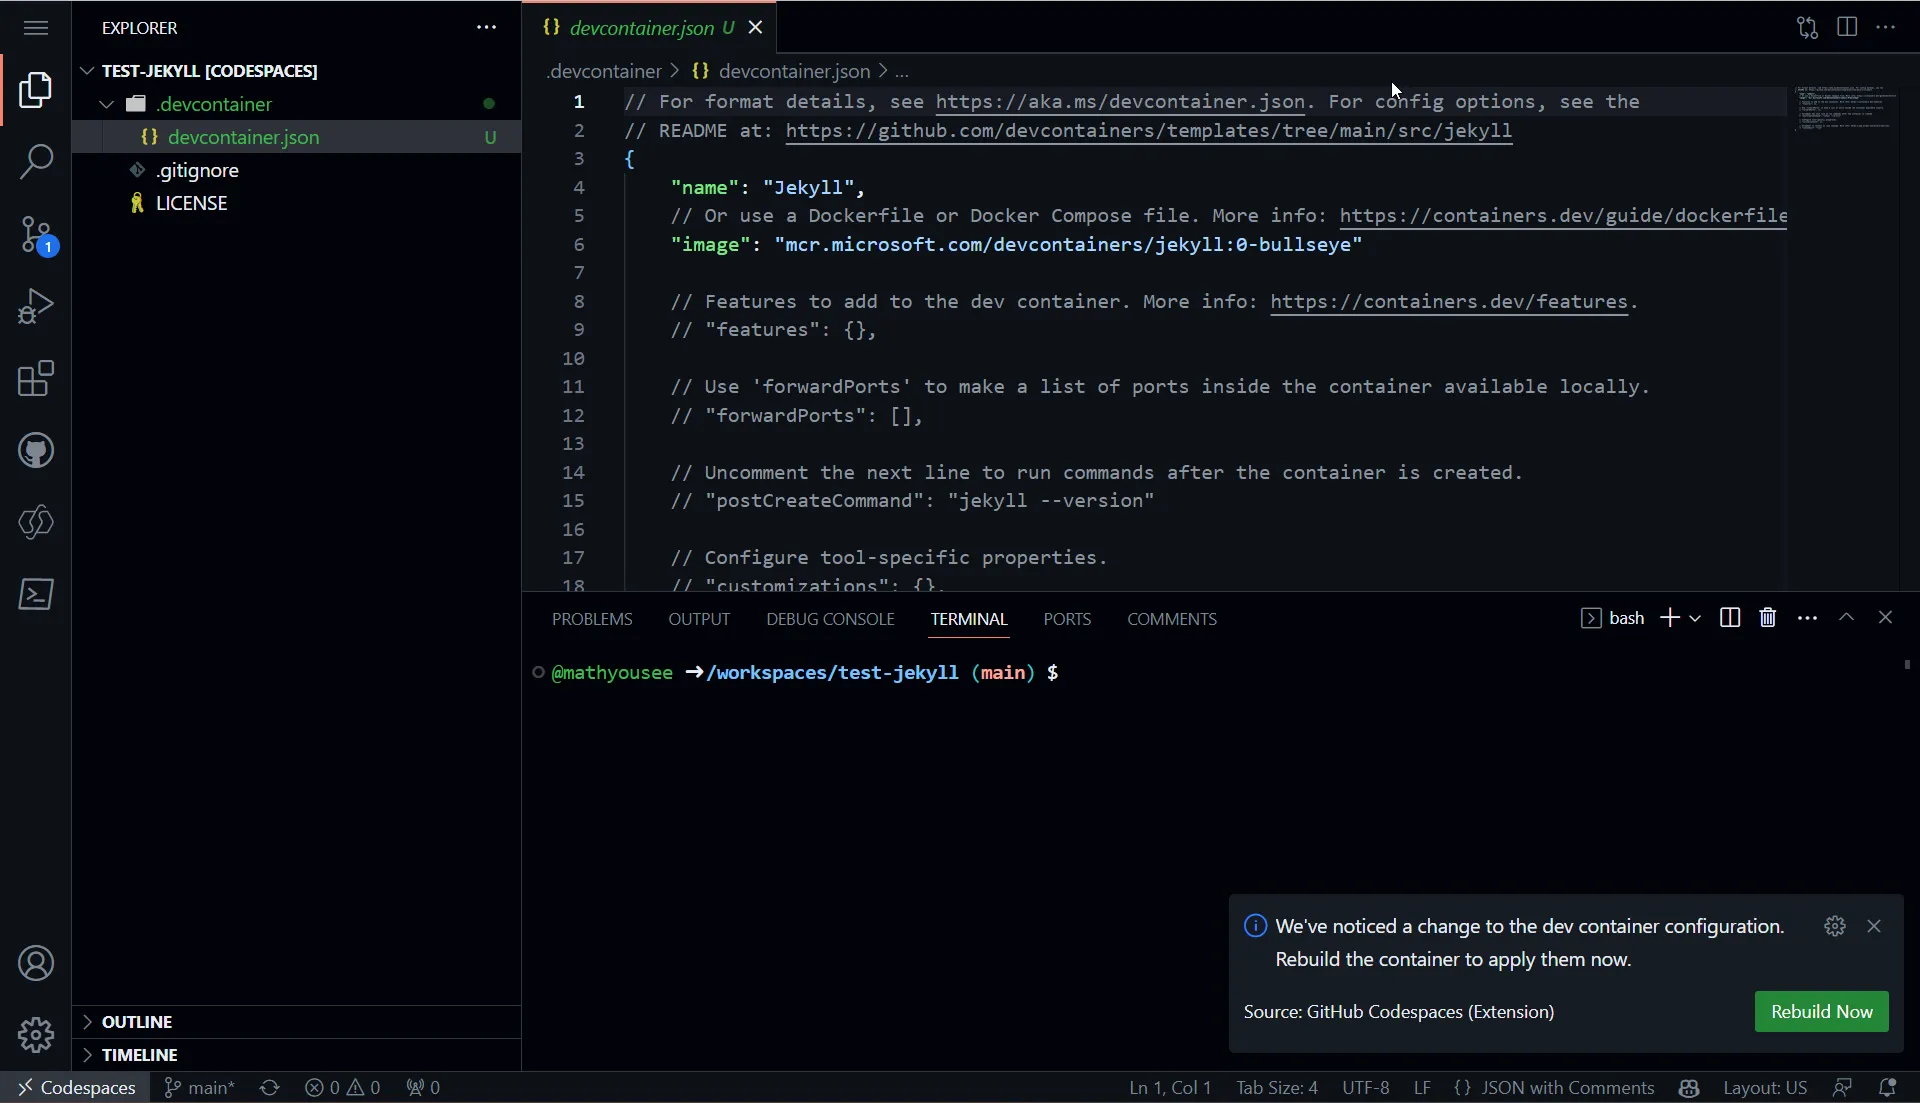
Added a dev container - Used the Codespaces button in the corner to get the command palette, which had an option to Add Dev Container Configuration Files. Then selected New Configuration.
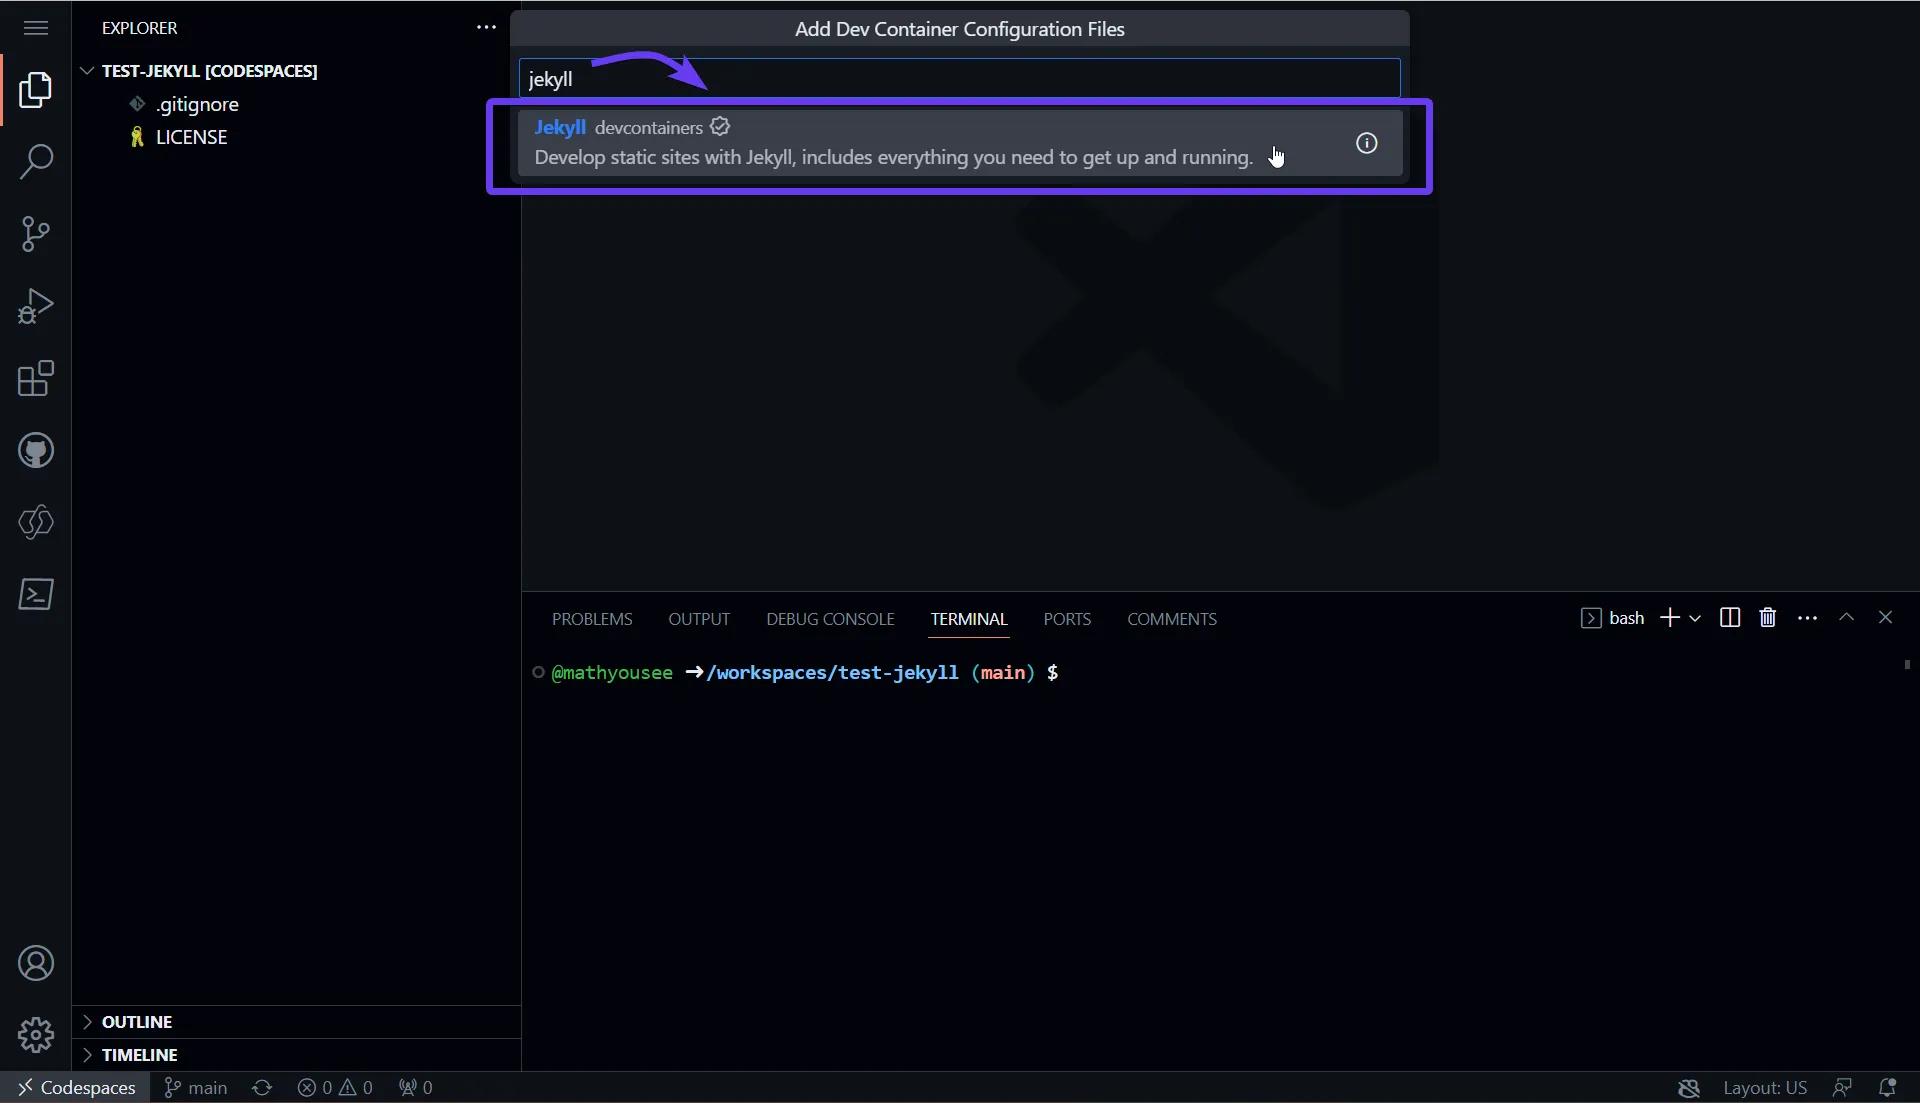
Picked the Jekyll container definition - Chose to Show All definitions then searched for and selected Jekyll. I didn’t choose any additional options.
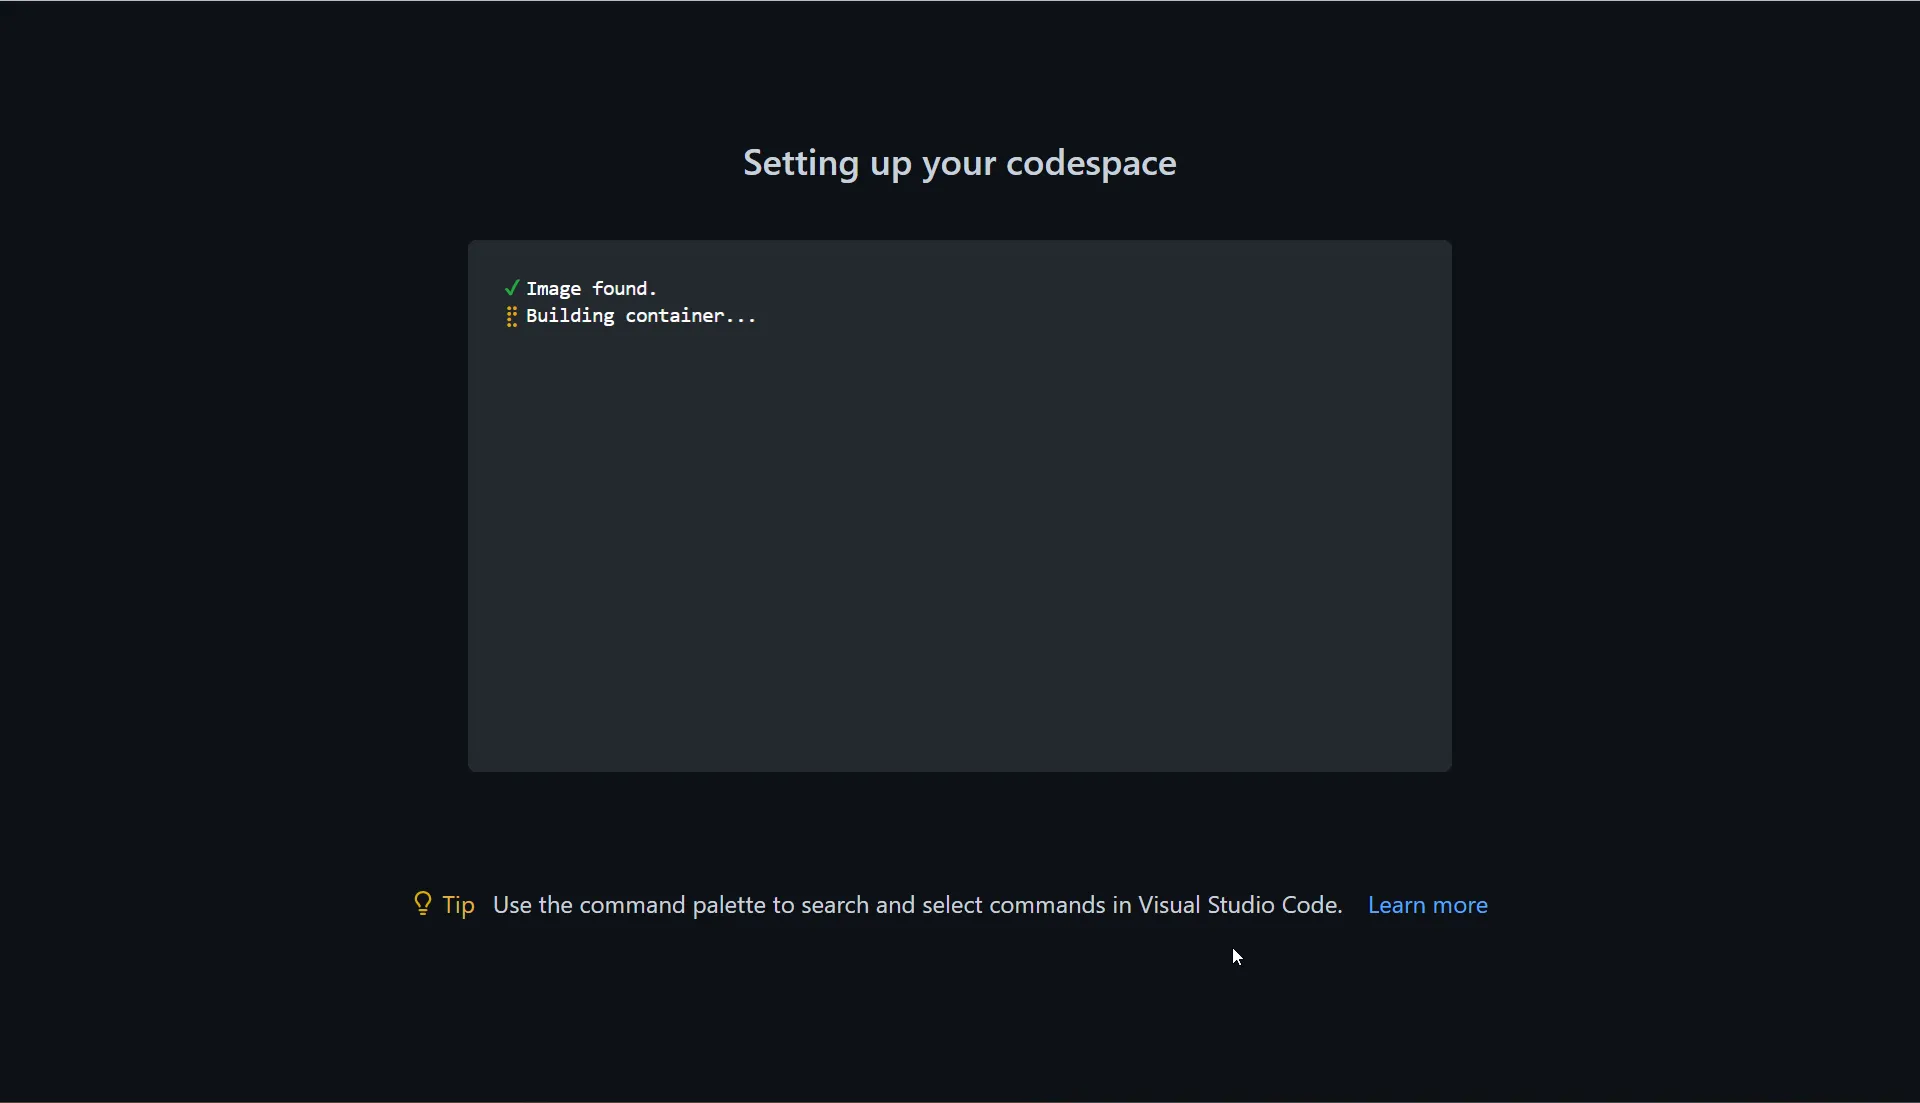
Rebuilt the codespace - I used the prompt in the corner to rebuild the codespace with the new container definition.
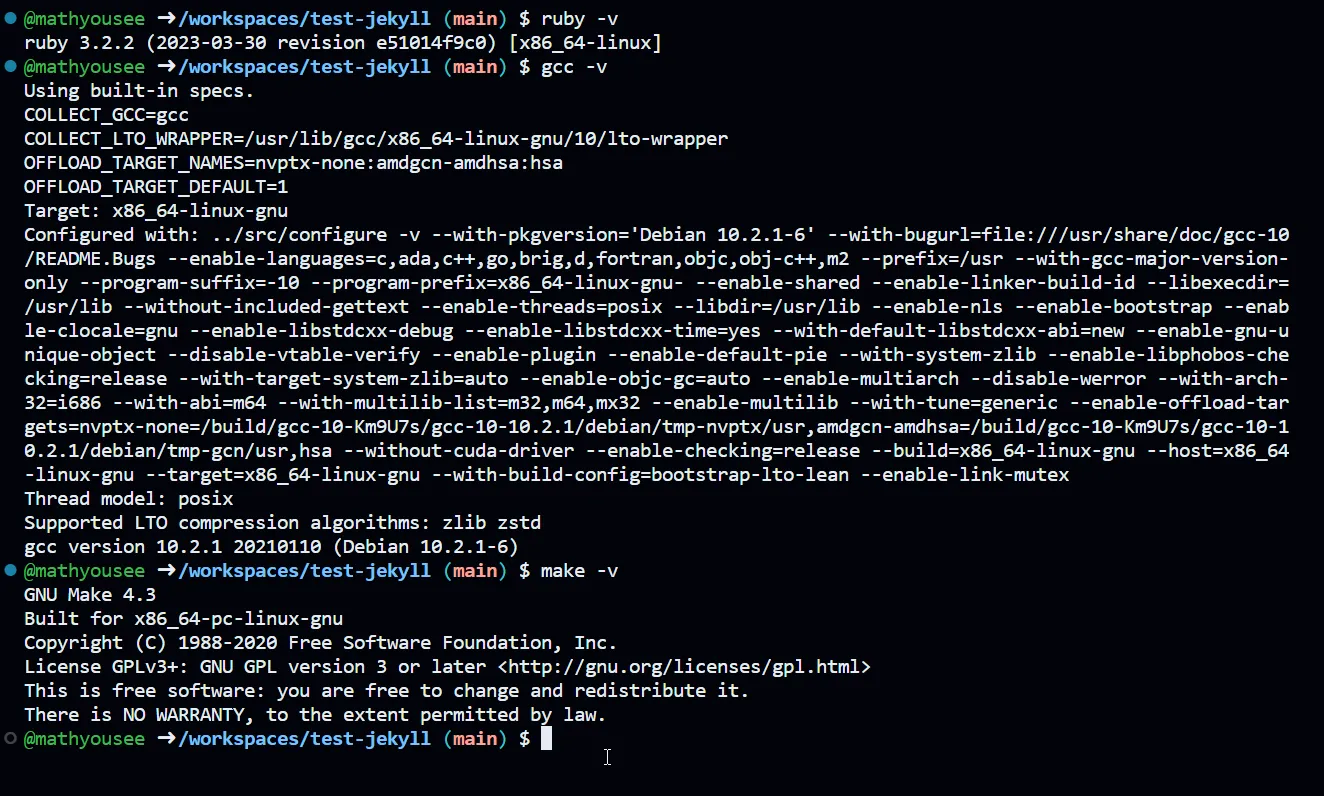
Just like that, boom-bam, everything I need.
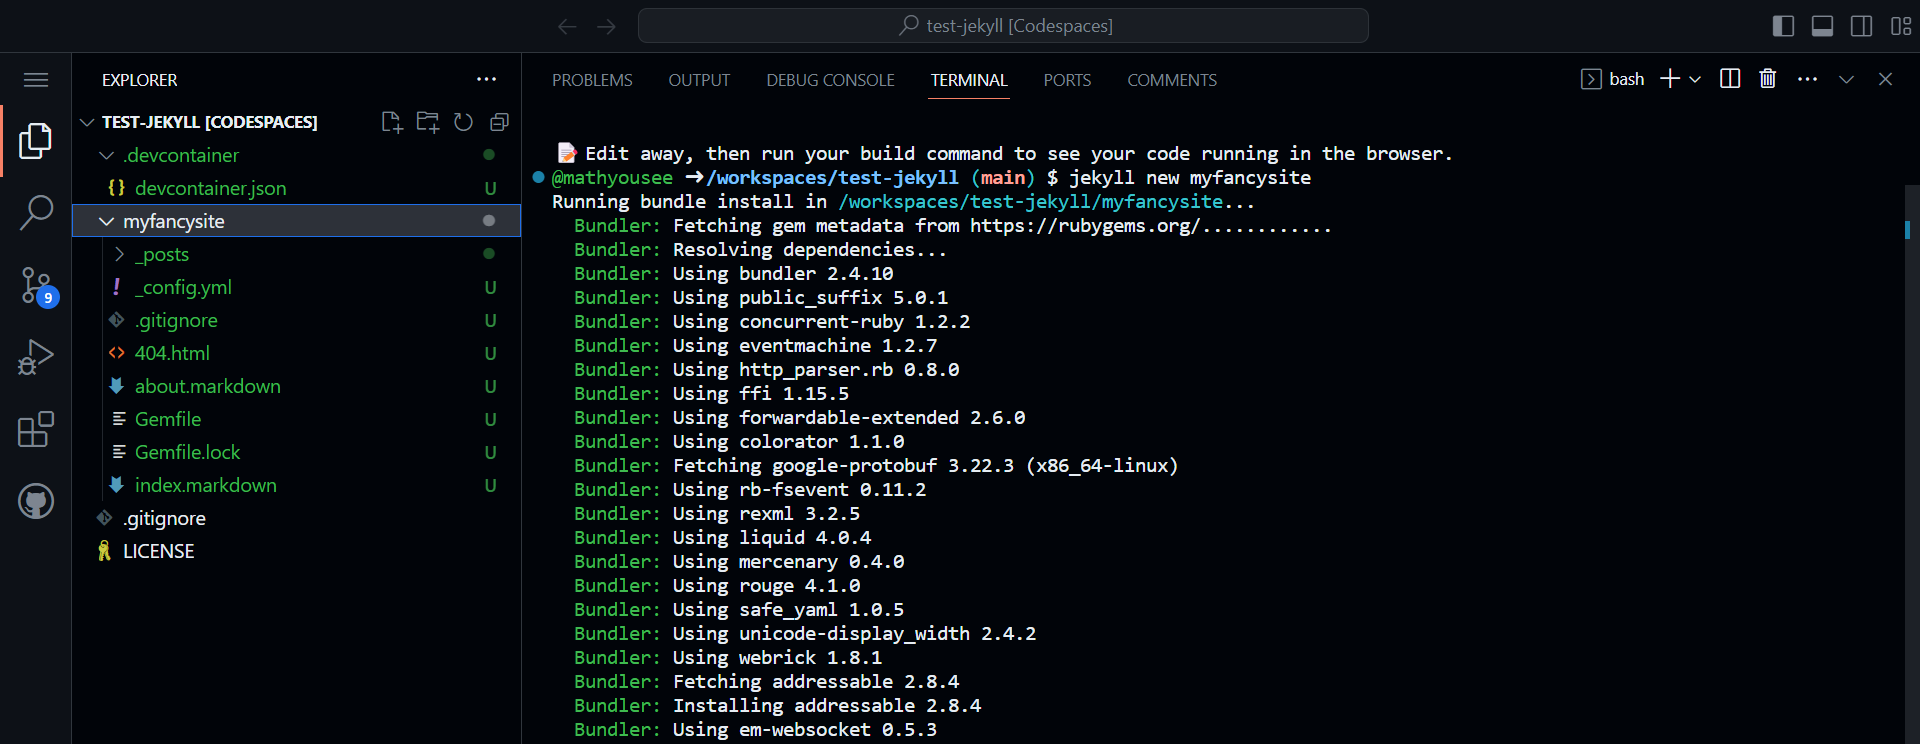
Then I was able to initialize a new Jekyll website directly from the Codespace, then start adding some additional Gems.
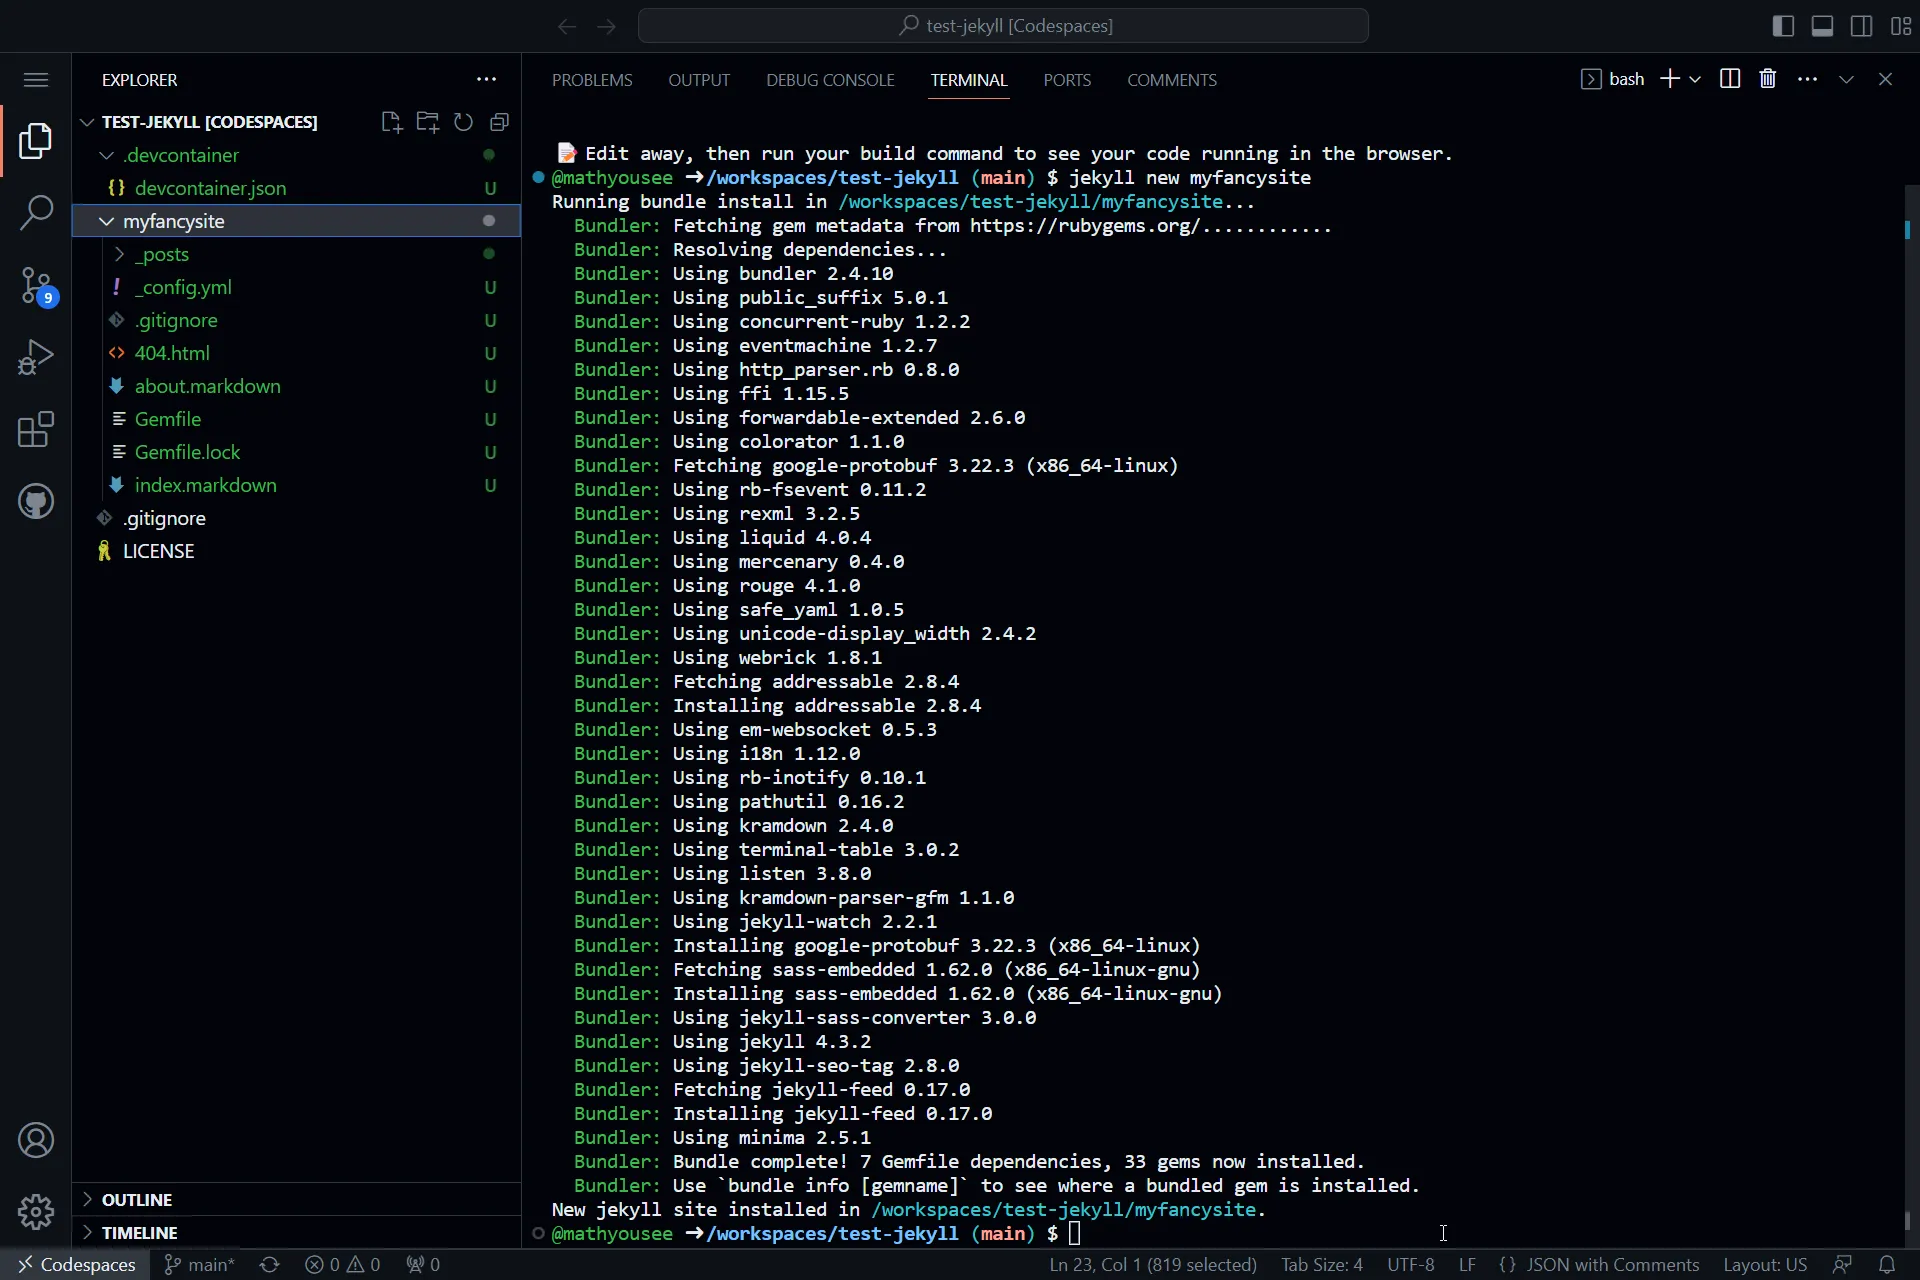
Everything in this section took something like 4 minutes my first time attempting to create my own Codespace. How easy is that?